This help section describes how to create new photo galleries and how to add and organise photos within those galleries.
Galleries and photos are publically accessible and can be viewed by anyone on the Internet. To add galleries you need to be a club member, and be logged into the website. A gallery is a collection of related photos (for example from a single tour). Only the person who created the gallery can edit it and add photos.
Creating a Photo Gallery
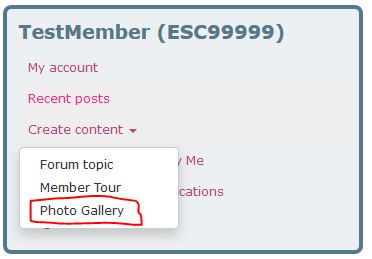
To create a gallery, once you are logged on, select the “My Account” menu option and you will see a block with your username at the top. Open the “Create content” menu option and select “Photo Gallery”:
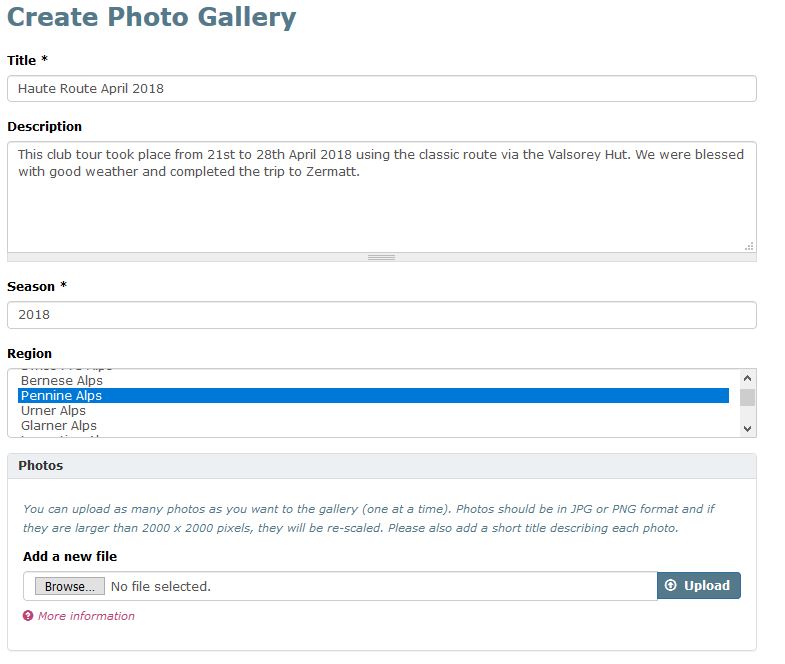
Now fill in the fields which contain the basic information about the gallery:
- The title should be quite short, but include the month and year e.g. “Haute Route April 2018”.
- The description appears above the photos and should contain a short description of the trip, including rough details of the route. The description should normally be one or two paragraphs – if needed you can refer to an article in the yearbook (these are all online).
- “Season” is the year in which the trip took place e.g. “2018”. If the photos span more than one year, chose the latest year. This field is used to sort the galleries in date order.
- “Region” should be used to tag the regions(s) in which the photos were taken. This can take multiple values e.g. in this example, the tour passed through the “Mt Blanc” and “Pennine Alps” regions.
Adding Photos
Before starting, you should select the photos you want to add to the gallery and plan what titles they should have. A gallery can contain as many photos as you want, but normally there would be between 6 and 40 photos per gallery – only the best should be selected from all of the photos from a trip. As well as being visually attractive, photos should be included if they would be helpful to future parties following the same route (e.g. tricky navigational sections).
Photos can be any size (subject to a maximum overall upload file size limit – currently 20MB), but they will be scaled to a maximum of 2000 x 2000 pixels for display (file size of around 1MB). You may want to resize them yourself before uploading to speed up the upload process (you may also get better quality).
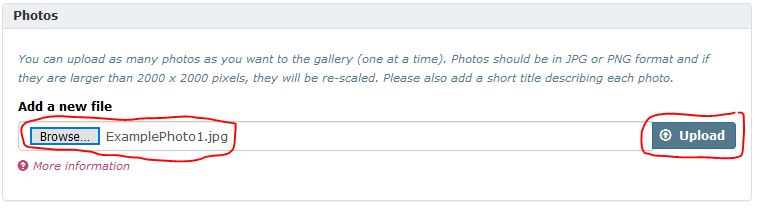
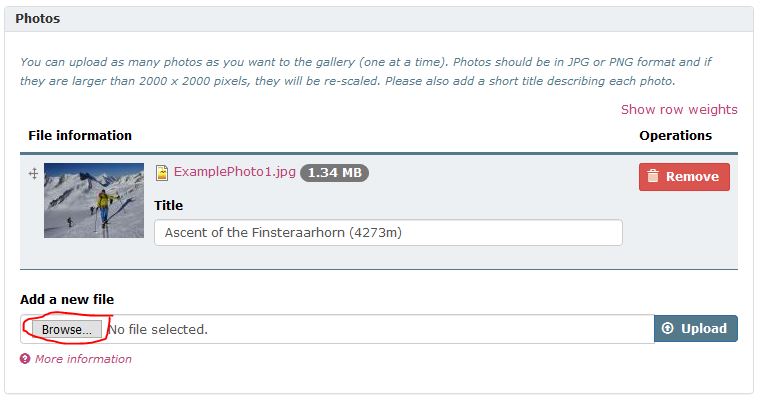
As many photos as wanted can be added to the gallery. For each photo, using the “Browse” button, select a photo from your local computer and then select “Upload” to send it to the website.
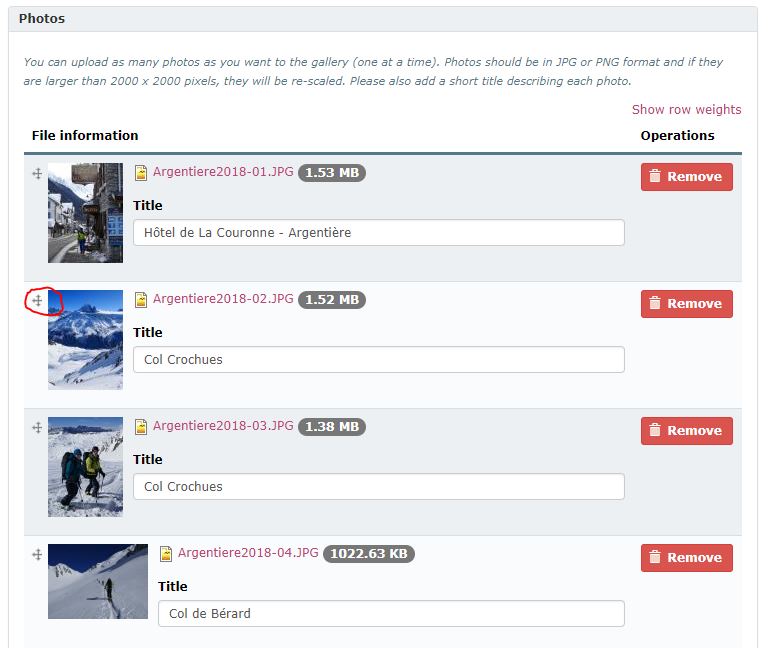
The uploaded photo will appear as a thumbnail image and you can now add a title for the photo – this should be fairly short as it appears below the photo. You can now continue to add photos by selecting another photo with the “Browse” button and selecting “Upload” again.
Once all photos have been added, select the “Save” button. The photo gallery will now appear in the list of Galleries.

Editing Galleries
Once you have uploaded a gallery you can edit it to add more photos, rearrange the order or correct any mistakes.
From the gallery display page, select the “Edit” link (note – this is only visible to the owner of the gallery i.e. the person who uploaded it).
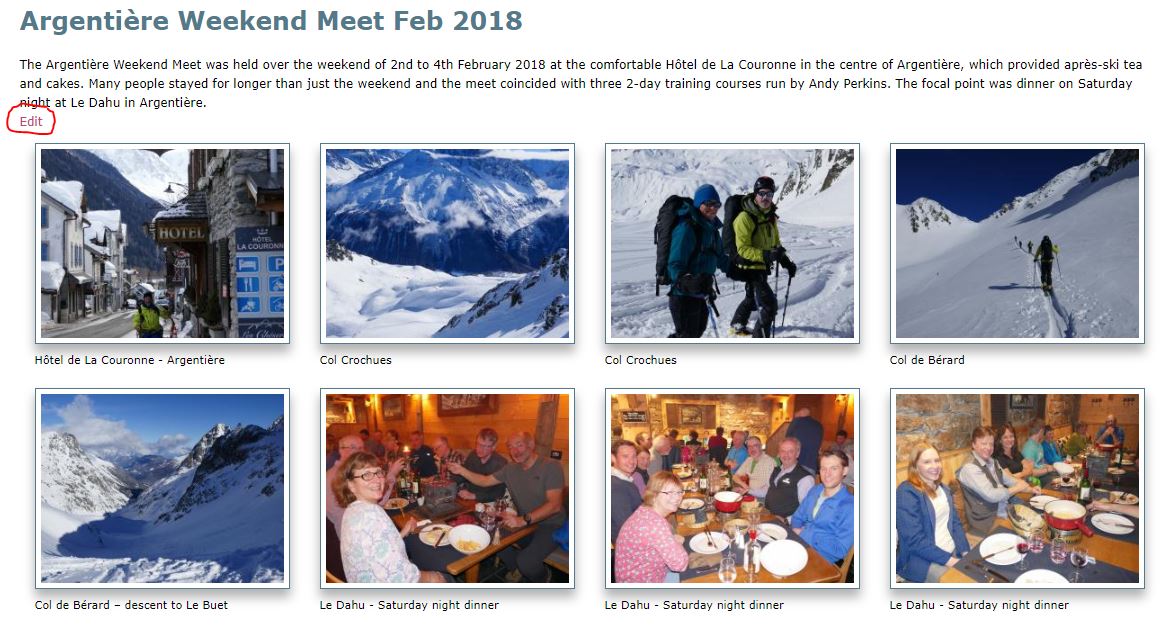
This will take you back to the edit page, where you can make any changes and then select “Save”.
To rearrange the order of photos once you have uploaded them, select the “cross” mark and drag the photo to the desired position in the list and then select “Save”.